This page last updated on 12/20/02 @ 3:20 pm EST
To Create your First Storage
Area:
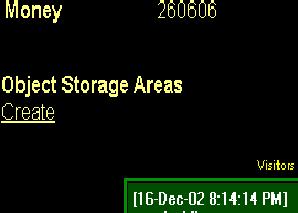
1) In your 2D house, click the
word Create (which is a link) under Object Storage.
2) A screen will popup saying
storage created.
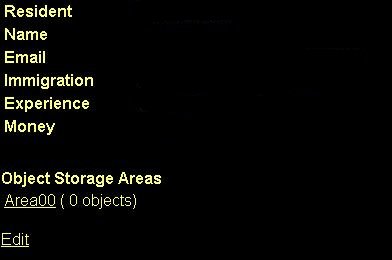
3) You will be sent back to
your 2D house and another link will be there called Area00 (0 objects).
To add objects to your Storage
Area(s)
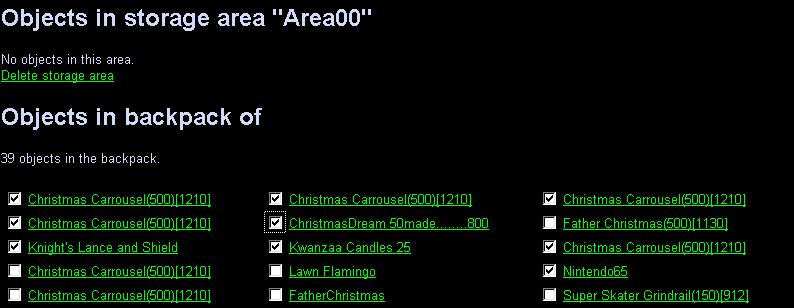
1) Click Area00.
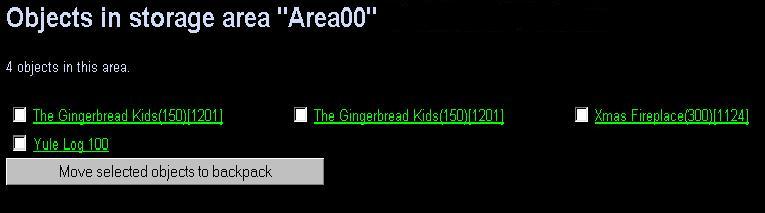
2) You will open the storage Area00. Inside you will see "Objects in storage area "Area00" of member *your nickname*". Also, you will see "Objects in backpack of member *your nickname*. The first time you open this your Objects in storage area will say "No objects in this area" and XX Objects in your backpack (up to 64 objects).
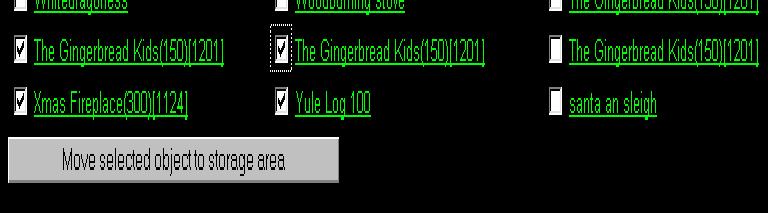
3) To move objects from your
backpack TO storage:
a)Click
inside the checkbox of the object you want to store.
b)Click
the "Move selected object to storage area.
4) A new window will open showing the object in the "Objects in storage area "Area00" of member *your nickname*"
5) Continue on until you have
reached the maximum for the object storage area which is listed as 500
objects.
6) You may have up to 10 storage
areas per house.
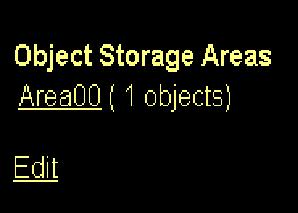
To Edit your Storage Area:
1) Click the edit button.
2) In the Update Storage Area names
of *your nickname* you can:
a) Change
the Storage Area name. (just click in the name box, delete what is there
and put in a new name for the storage area.
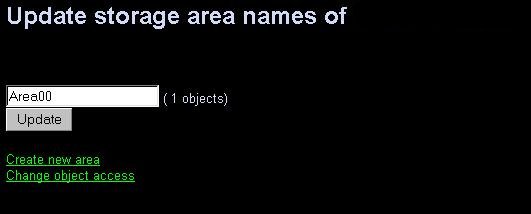
b) Create
a new area. (follow the steps above after clicking and remember you can
create 5 storage areas in your house).
c) Change
object Access. This feature has two options.
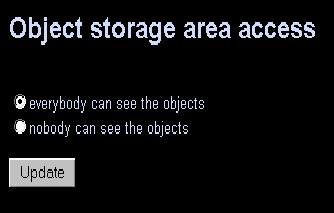
1) everybody can see the objects
2) nobody can see the objects
d) If
you change the access click the Update button.
Here are the details for reference:
1) each member can have up to 5
clubs now
2) each member can have 10 storage
areas, each holding up to 500 objects
3) the storage areas are linked
from the members home. the members can
define names for the areas and
make them public readable or protect them
from view.
4) the list is HTML based (because
any other 2D system couldn't get above about 130 objects). It
lists the selected area first and
then the backpack of the member.
5) the member has a button to move
objects from the backpack to the area
and vice versa as long as the limit
of 500 objects in the area or 64
objects in the backpack isn't reached.
An additional note passed along
by Megan-Cho for those who use the STYLE codes for 2D background images:
"be careful with the "<STYLE>"
codes for 2d backgrounds i thought i lost my object stores - they disappeared
when i changed it. When I took it out of homepage it still was gone,
I closed IE and logged back in and it's default color now and the stores
are back"
Additional information. You can
also set the prices while your objects are in storage and people can buy
from your storage area(s) if they are set and the area is set to "everyone
can see the objects", just like your normal backpack or house or club sales.
UPDATE!
Update:
- it's possible to move more
than one object
- the object counts are automatically
corrected when looking at the area
(some members have wrong counts)
- empty areas can be deleted
by the owner
- the lists are sorted alphabetically
Update:
Correct where storage units are located. (all 10 are in your house, nothing
in clubs).
You are now eligible for 5 clubs
instead of 3 with the standard 32 object limitations.
**Thanks Vialle and Hawk for pointing
this out.